Learn How To Use Elementor Popups
Let’s dive deep into the world of Elementor popups and unveil the secrets to harnessing their full potential! In this article, we…
Read article Skip to main content
All Astoundify themes are built around the central ideas that widgets create great building blocks for creating and customizing your website. They can easily be added, removed, rearranged, or configured without having to modify template files.
However, there may be instances where a widget does not offer a setting to adjust for what you need, or you need to make a change to the appearance that cannot be achieved via CSS.
Listify offers multiple ways to further customize a widget or change the output entirely.
All widget output can be modified using the WordPress Filter API. The entire HTML content of a widget is passed through a filter using the unique widget ID as the tag.
Take for example the “Description” widget. On line 16 the widget is registered with an ID of listify_widget_panel_listing_content. On line 89 this ID is used to name a filter in the WordPress Filter API.
All widgets on the single listing page are wrapped in an aside tag that contains the following CSS class names: widget widget-job_listing. If we want to add another class to the aside tag to provide specific styling for this widget we can use the following code:
Using PHP’s str_replace() function we can replace the existing CSS classes in the wrapper with an additional class appended. This will result in an output of <aside class="widget widget-job_listing my-custom-class"> which you can then style:
Sometimes more drastic changes are required when modifying a widget. In these cases, the entire widget output must be rewritten. While it is possible to do this using the steps mentioned above a more maintainable solution is to register your own copy of the widget and use that instead.
Let’s take the Call to Action widget for example. Perhaps we need completely custom HTML instead of what is provided. To change this we first need to duplicate the widget file to our child theme. Save class-widget-home-cta.php in your child theme.
Once this is done we must modify the name of the widget class and the ID used to register the widget. You can see this change on line 7 and line 15.
Once the widget has been saved in our child theme it needs to be registered so WordPress knows to allow it to be added to a widget area. In your child theme’s functions.php add:
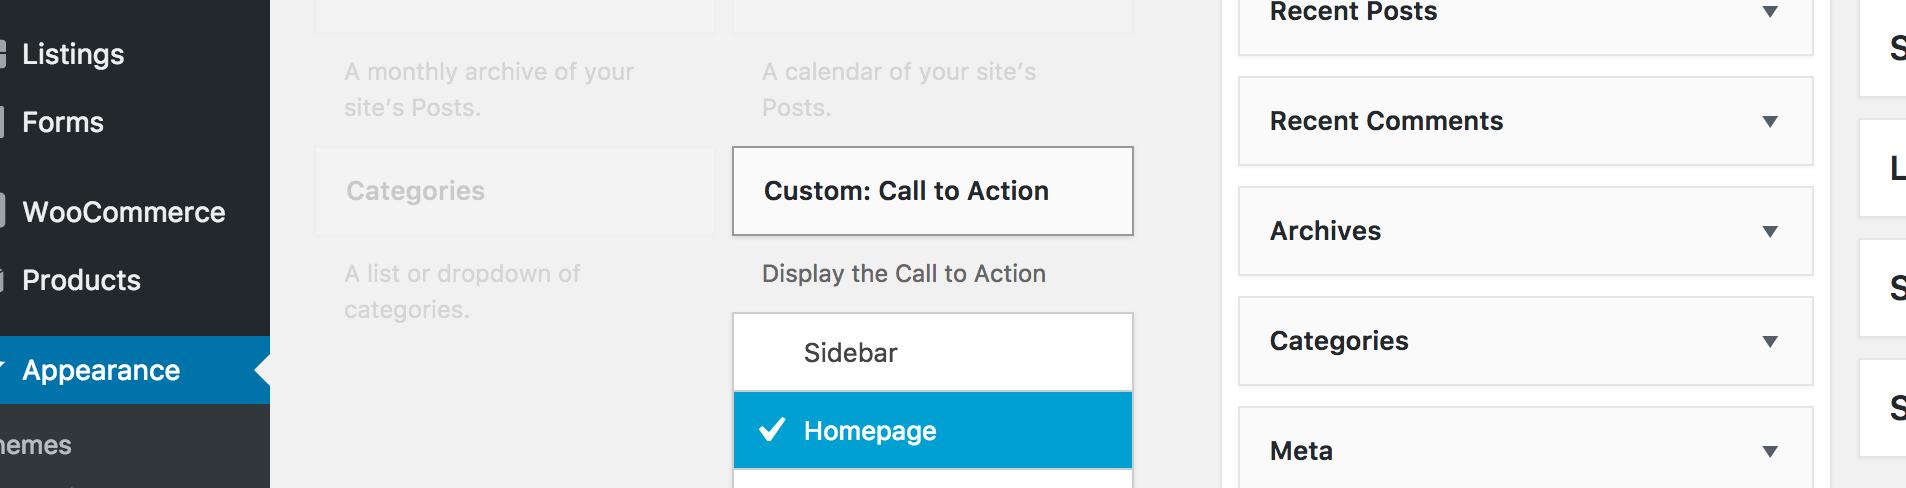
Here we include the widget file we copied to the child theme, and register it using the new class name assigned. It will now appear in Appearance ▸ Widgets
To edit the output of the widget simply modify the output of the widget() method.
Just like you should never edit a WordPress core file, you should also never edit a parent theme file. There are always ways to modify or override what the theme ultimately outputs on the page. By keeping theme files untouched you can more safely update your theme when new versions are released.
Let’s dive deep into the world of Elementor popups and unveil the secrets to harnessing their full potential! In this article, we…
Read articleAre you tired of manually posting job listings on your website and sifting through countless resumes? Look no further than the WP…
Read articleElementor is a powerful page builder plugin for WordPress that makes it easy to create custom popups for your website. In this…
Read article Optimized by Seraphinite Accelerator