Learn How To Use Elementor Popups
Let’s dive deep into the world of Elementor popups and unveil the secrets to harnessing their full potential! In this article, we…
Read article Skip to main content
Are you looking for the best way to use WP Job Manager with Elementor? If yes, then first, you’ll use a powerful WordPress plugin for the job board site. Further, there are so many choices available to pick from them. But, it can be challenging to understand which WordPress plugin is the best for your website.
Plus, you need to choose a plugin that supports the Elementor. Nowadays, Elementor is one of the most popular WordPress website page builders because of its flexibility and ease of use. It is perfect work on a WordPress website. There are lots of plugins available that support wp job manager elementor.
In this blog, we will discuss one of the best job board Plugins for your WordPress site. When you choose a wordpress plugin then always keep in mind your own site’s requirements. “Elementify” is one of the best Plugins for the Job Manager. It is a lightweight and rich-featured plugin useful for any Job board website. Plus, this plugin is perfect for HR departments, job directory listing sites, company listings, or corporate WordPress sites.
If you want to learn how to use WP Job Manager Elementor, this is a pretty good tutorial.
Let’s start at the beginning.
To get started, first of all, you will need to login into your WordPress Admin dashboard. Go to Appearance->Add New. Now, click on the Upload Theme, upload the ”Jobify” Theme zip file. This theme creates a professional job board.
Please see the below screenshot for more detail.
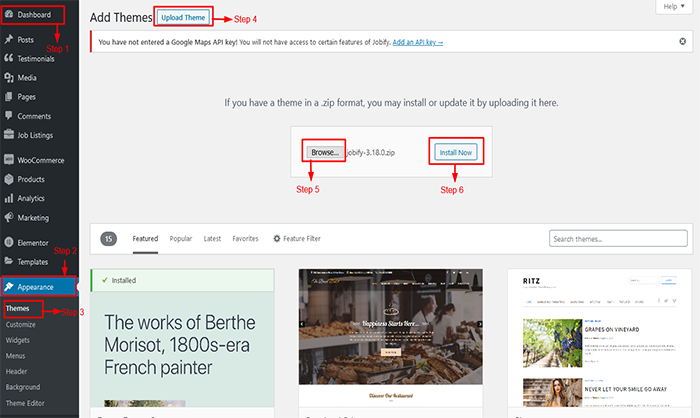
Click on the ”Activate Theme” button. Your Jobify wordpress theme is now ready for use.
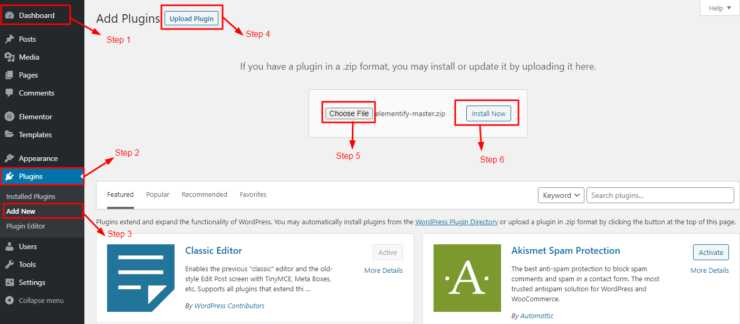
Now, click on the Upload plugin, upload the ”Elementify” plugin zip file. Use of this plugin, you can quickly run your job board site with Elementor.
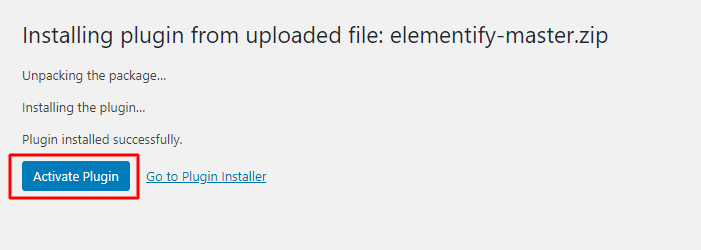
The next step is to click on the ”Activate Plugin” button.
After activating the plugin, go to Pages, click on the ”Add New” page, and give a page title. Once it is complete, click on ”Edit with Elementor”.
In the widget section, you can show an ”Elementify” section.
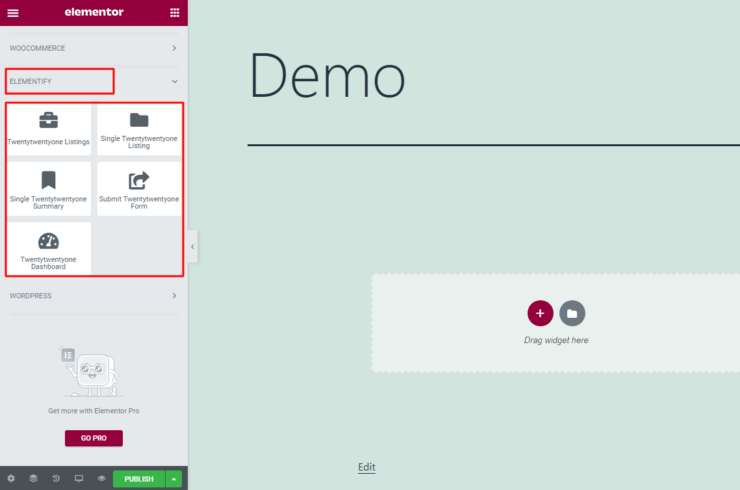
Here, you can show five different options.
1. Jobify Listings
You can direct drag-and-drop listings elements, and you can directly show your all job listings.
2. Single Jobify Listing
You can select a single listing element, and you can get a single job listing page.
3. Single Jobify Summary
You can drag-and-drop the Single Summary widget and directly show your job listing summary.
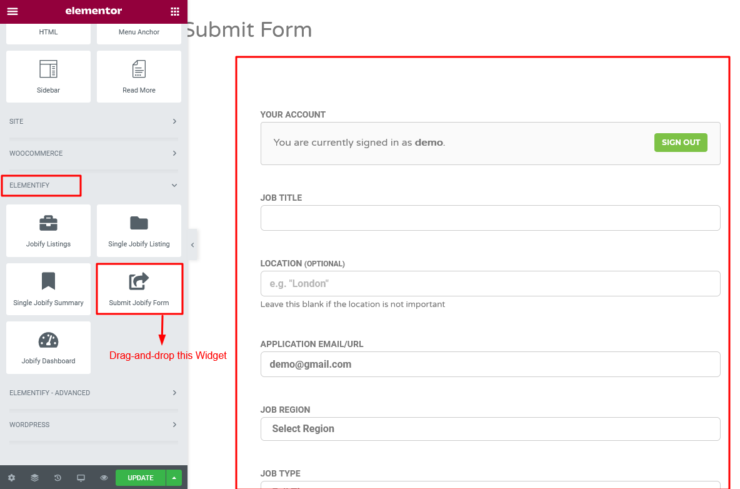
4. Submit Jobify Form
Use of this widget, you can directly add a submit form to your website.
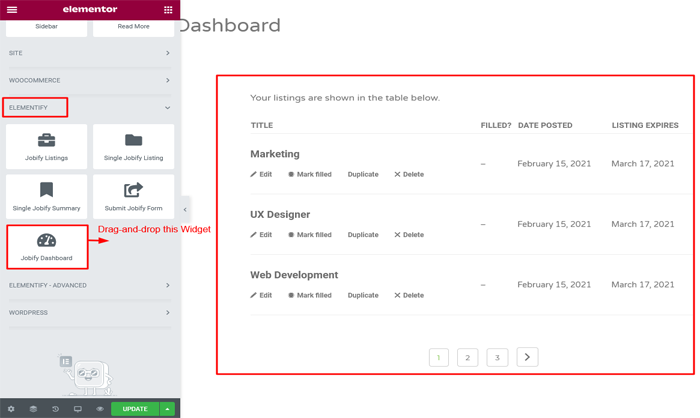
5. Jobify Dashboard
Use of this widget, you can show an all job posting dashboard.
Let’s look at each of these in more detail below. This process will help you obtain a clear idea of the use of the Elementor WP Job Manager.
If you want to add a submit form with Elementor, drag-and-drop the ”Submit Form” widgets and Click on the ”Publish” button. It allows your users to submit a new job listing.
In the below screenshot, as you can preview a submit form.
Add a Job Post to Your Website
Now that your job submission form is complete, you’re ready to add a new job post. First, go to the front side and fill a job post form. There are various fields available. This field allows you to specify all-important job posting details.
Start by filling out your Job Post information. Let’s quickly summarize the guide for all the essential fields.
Job Title: Give your job post title.
Location: Write a job location for your job.
Job Types: Here, the drop-down menu is available. You can select any job type. There are various job types available. Like; Freelance, Full Time, Internship, Part-Time, Temporary.
Job Category: You can select a relevant job category in a drop-down menu.
Description: Write your job post description.
Application Email/URL: Set an application email or URL for the job post.
Company Name: Write a company name.
Company Website: Define the company URL.
Company Tagline: Enter your company’s tagline.
Twitter Username: Give your company’s Twitter account name.
Facebook Username: Give your company’s Facebook account name.
LinkedIn Username: Give your company’s LinkedIn account name.
Company Video: If your company video is available, then enter a video link.
Company Logo: Set your company logo.
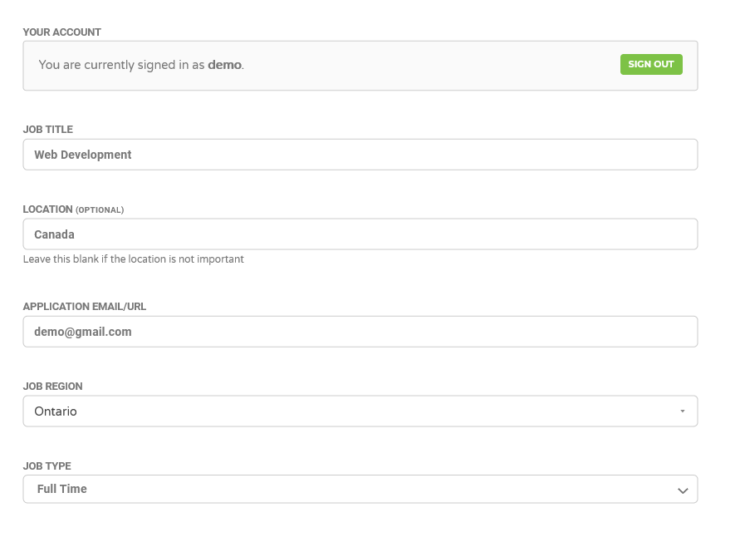
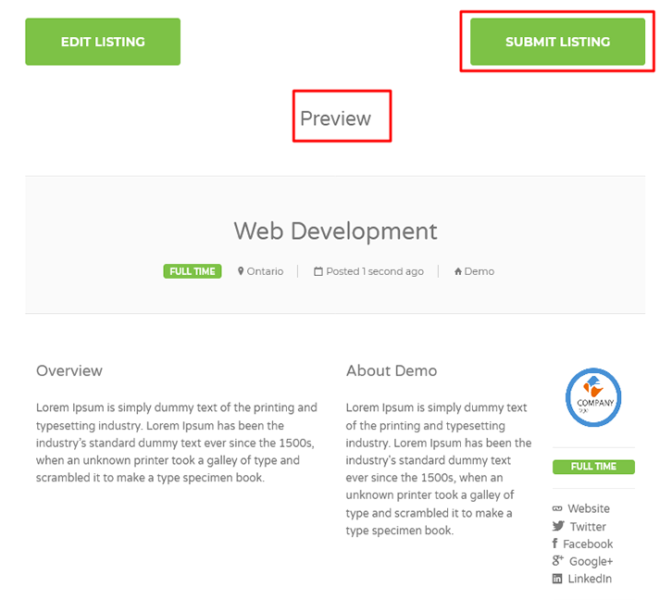
Once you have completed the form, you can preview a submit form what it will look like on the site.
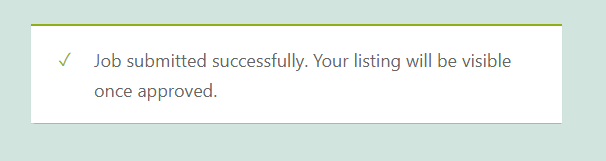
After clicking on the Submit Button, look at the screenshot below; you can show a message like this.
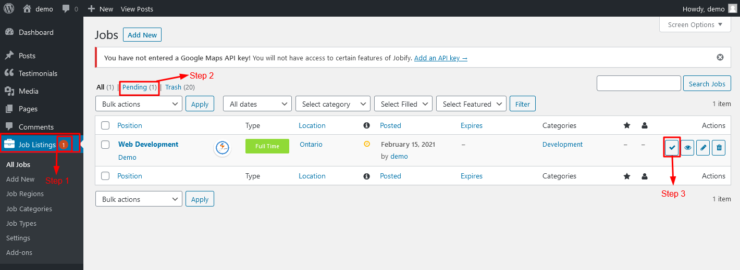
Now, go to your WordPress admin dashboard, you can show a message like this. Click on it. Here, you can show you’re all the pending job listings. Click on the Approve button and live your job listing.
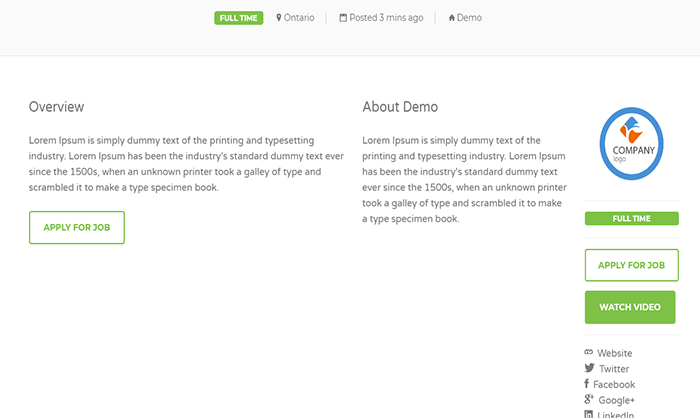
Your listing is now live; you can preview this listing by visiting the front-end of your site:
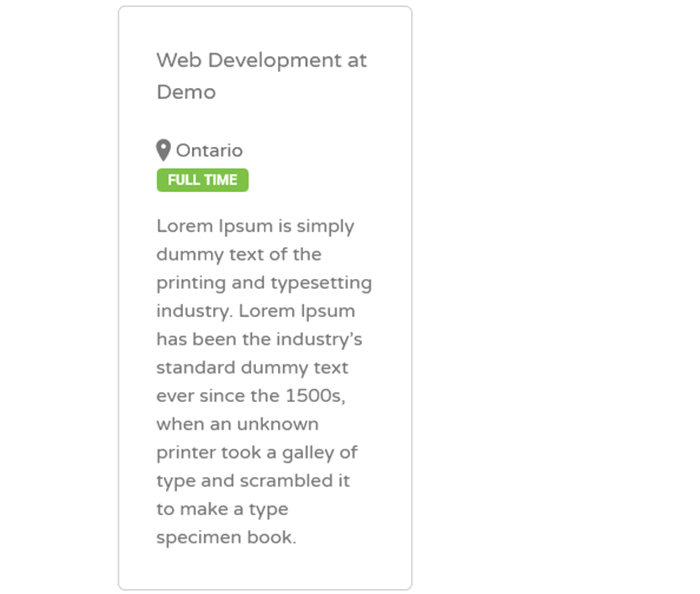
You can drag-and-drop the Single Summary widget and directly show your job listing summary.
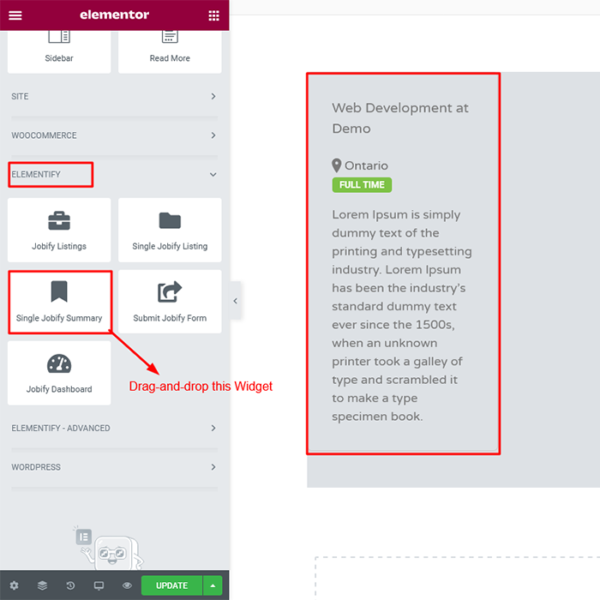
In the below screenshot, you can preview a single summary.
Use of this widget, you can directly show the entire job posting in your dashboard.
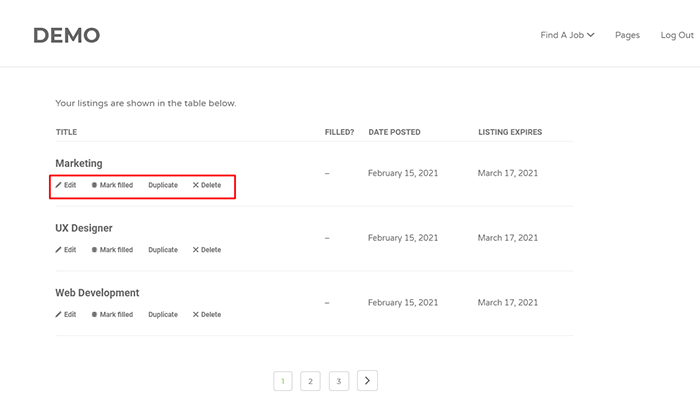
On the front-end side, you can show various options. Like; Edit, Mark filled, Duplicate, Delete.
Edit: You can edit your listing.
Mark Filled: Here, you can mark your listing.
Duplicate: If you want to create the same entry, then click on create a duplicate listing.
Delete: You can delete your job post.
It’s a simple view of a job dashboard with all the possible options.
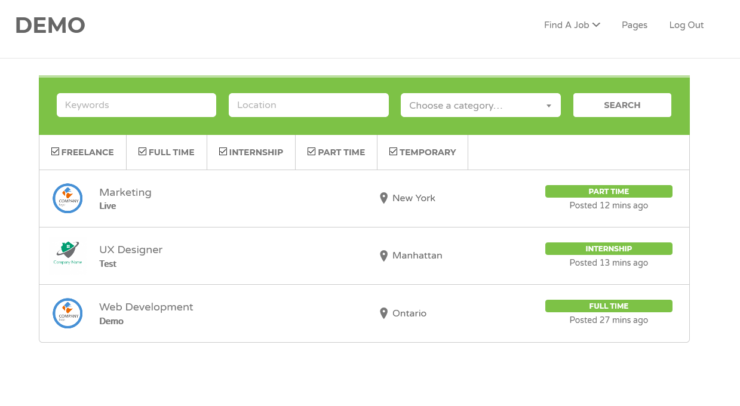
You can direct drag-and-drop listings elements, and you can directly show your all job listings.
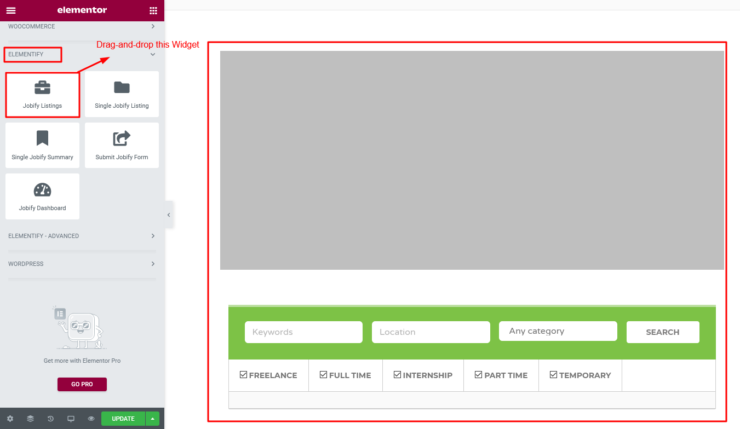
Here, you can show a preview of your listing. Plus, you can search a listing as job post-wise, location-wise, category-wise, and keyword-wise.
You can select a single listing element, and you can show a single job listing via job id.
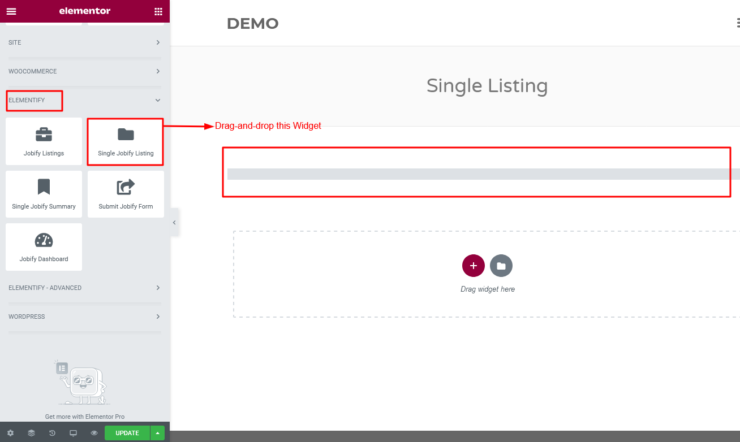
Once you drag-and-drop this widget, you move to this page. Write a Job Id of your job post, which you can show on this page.
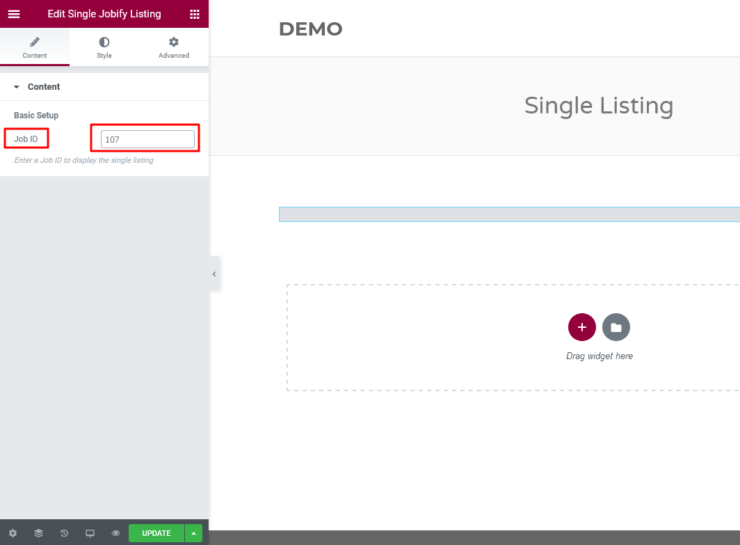
Here, you can show a single listing preview.

That’s it! As per our experience, this is one of the easiest and most efficient ways to use a WP Job Manager with Elementor because of its flexibility.
That’s the end! We hope now you have understood well how you can easily use WP Job Manager with Elementor. Plus, the ”Elementify” plugin adds all features to your site, which requires job-related sites. If you follow all the steps from start to finish, you can easily set up your job board site in less time. Apart from this, if you are looking for a listing directory theme, then go with Listify. It is one of the best listing directory themes to create a professional website without any technical knowledge.
Still, if you have any confusion about this tutorial, contact us or drop a comment below. We are always happy to help you.

Let’s dive deep into the world of Elementor popups and unveil the secrets to harnessing their full potential! In this article, we…
Read articleAre you tired of manually posting job listings on your website and sifting through countless resumes? Look no further than the WP…
Read articleElementor is a powerful page builder plugin for WordPress that makes it easy to create custom popups for your website. In this…
Read article Optimized by Seraphinite Accelerator